How to Ensure Safe and Effective Gutter Installation
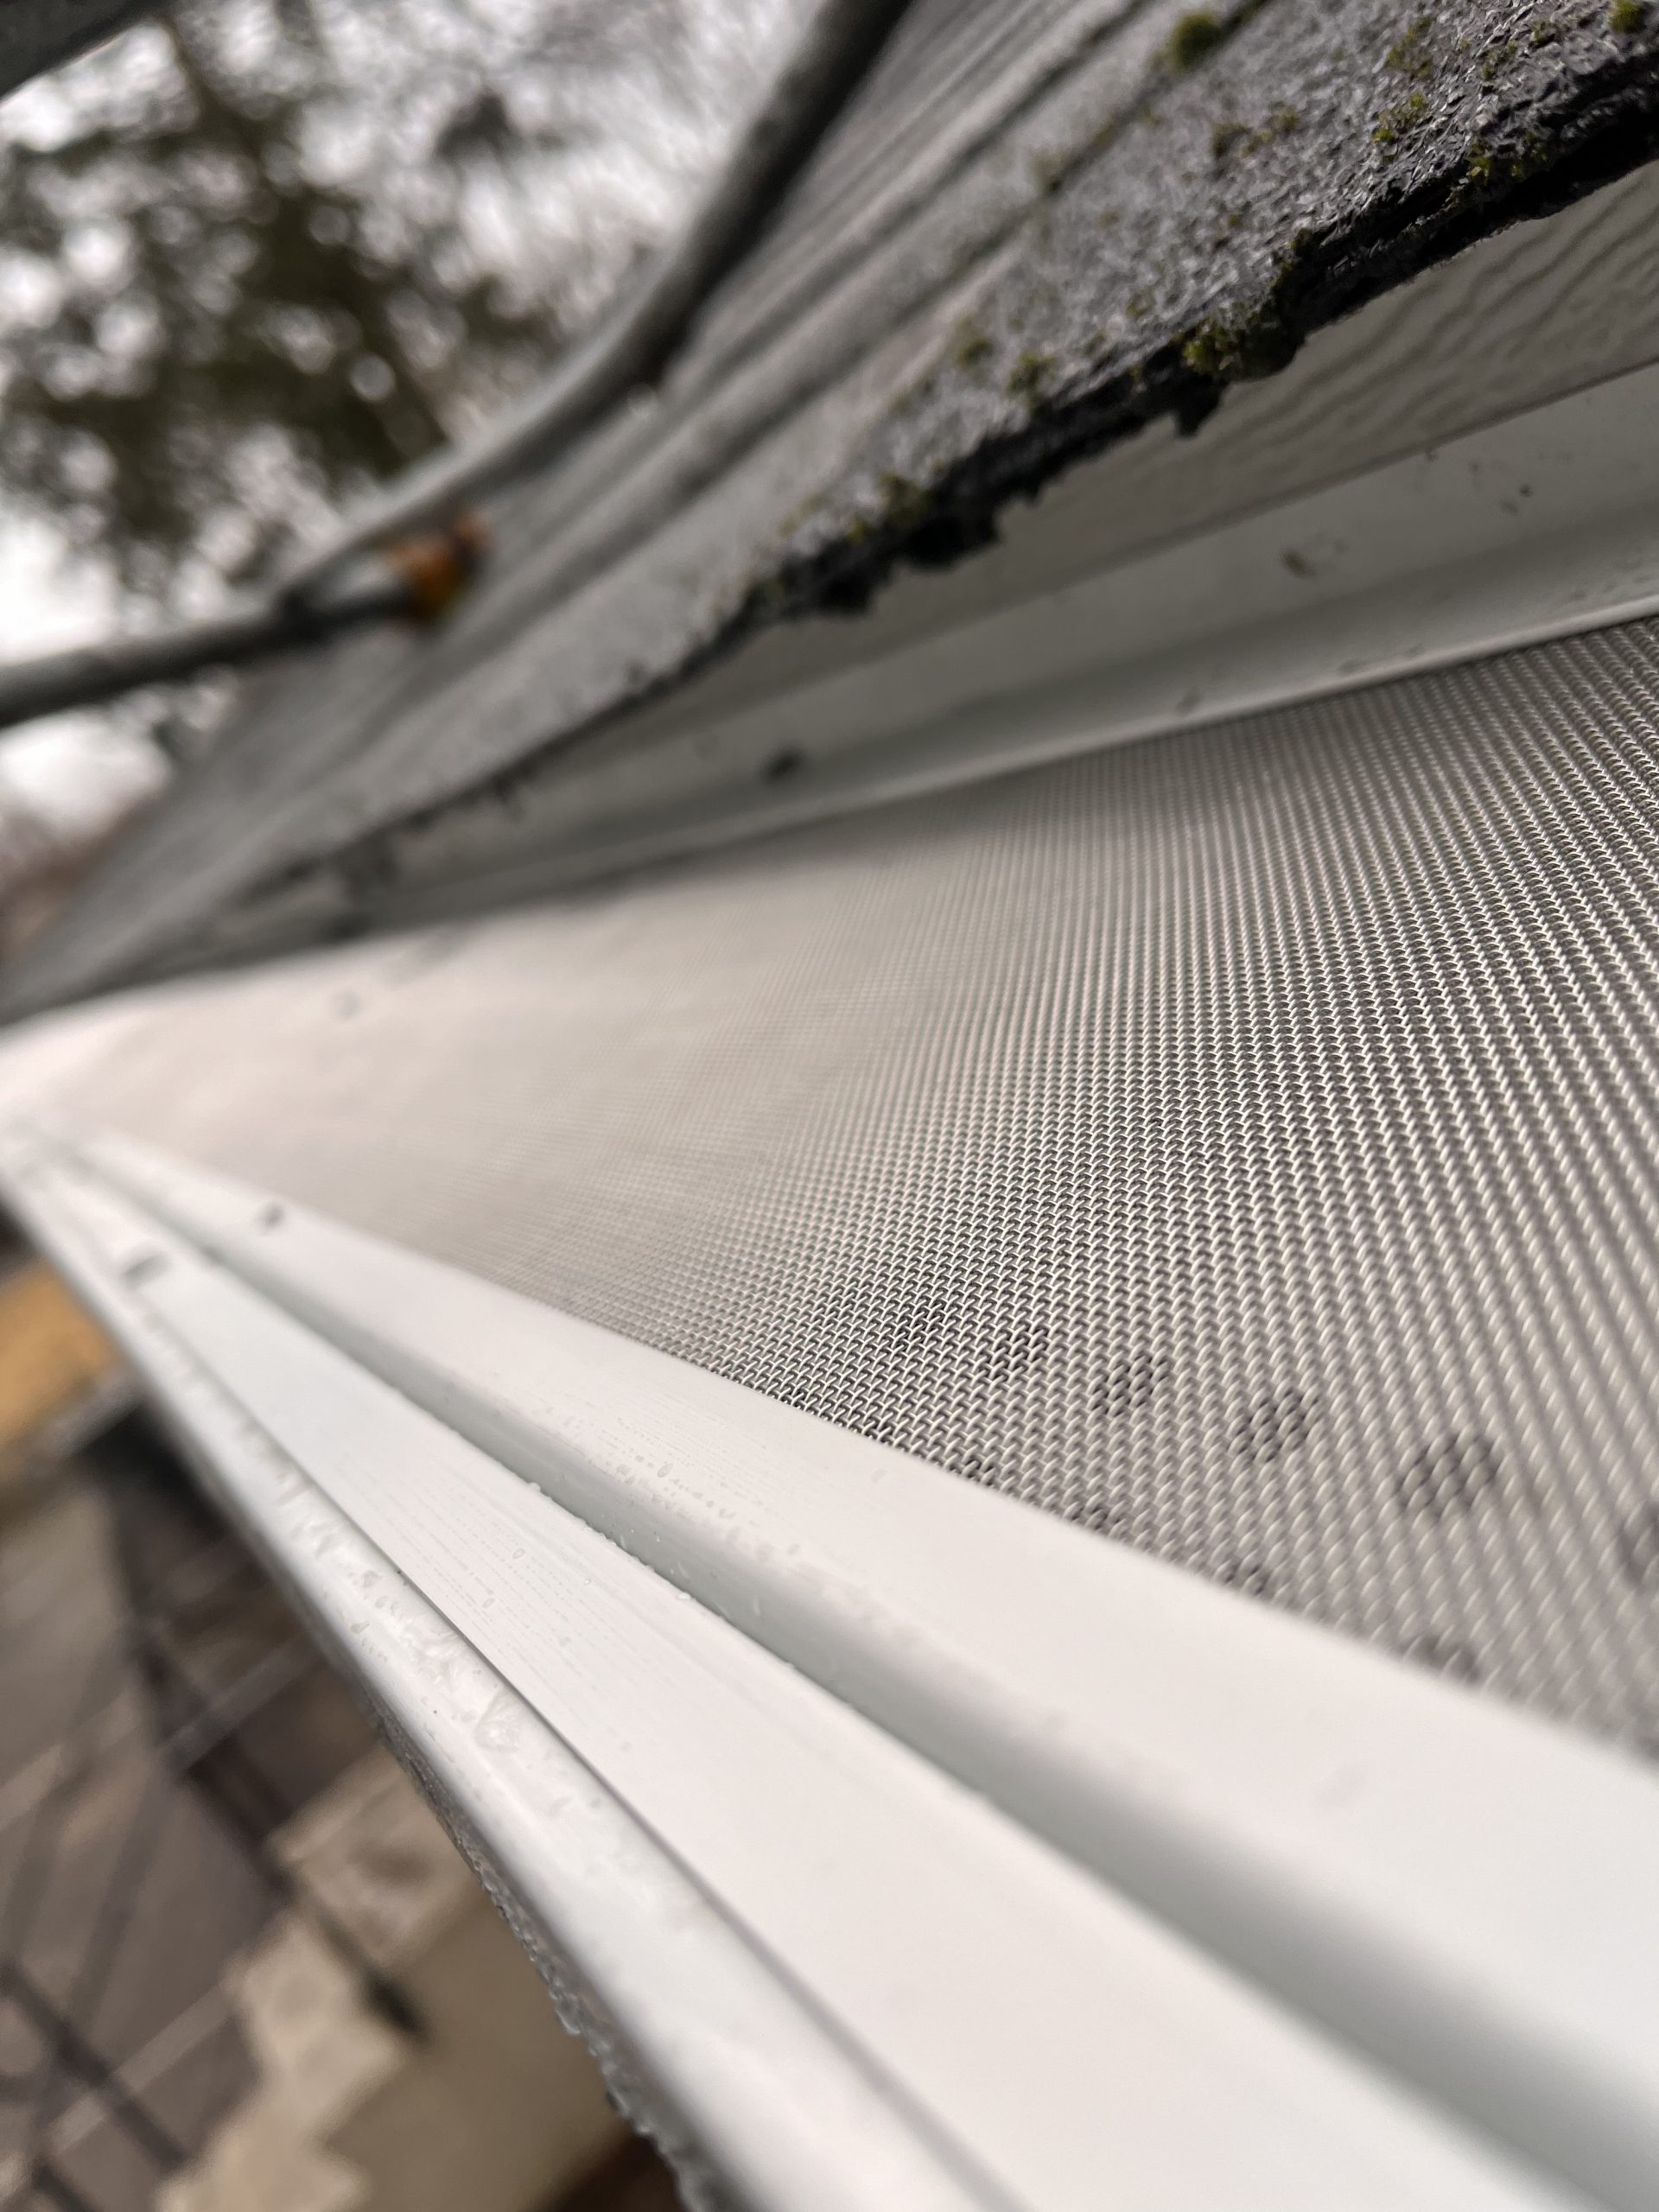
Gutters tend to get attention only when they fail. A basement starts taking on water, mulch washes out after every storm, fascia boards soften and peel, and suddenly a part of the house that felt purely functional becomes urgent. Good gutter installation prevents those headaches quietly, season after season. Poor installation creates them in slow motion.
That is what makes this job deceptively important. Gutters are simple in concept, but they sit at the intersection of roofing, drainage, structural protection, and ladder safety. A system can look straight from the ground and still be doing the wrong work, sending water behind the gutter, overshooting downspouts, or dropping runoff too close to the foundation. Safe and effective gutter installation comes down to more than hanging metal along the roofline. It requires sound planning, careful measuring, solid fastening, and a realistic respect for working at height.
Why the installation phase matters so much
A gutter system has one basic job, move roof runoff away from the house in a controlled way. The details decide whether it actually does that. On a modest rain, almost any gutter can appear to perform. The real test comes during a hard storm when the roof is shedding water quickly, debris is moving through the troughs, and the downspouts need to keep pace. That is where layout, slope, outlet placement, and attachment quality all matter.
I have seen new gutters installed on attractive homes that began staining the siding within weeks. The metal itself was fine. The problem was placement. The back edge sat too low beneath the drip edge, so water curled behind the gutter instead of dropping into it. On another property, the installer spaced hangers too far apart. After one winter of snow load and spring runoff, sections started to sag, changing the pitch and creating standing water. Neither failure was dramatic on day one, but both were built into the installation.
A well-installed system protects more than trim. It helps preserve the roof edge, reduces splashback against siding, limits erosion around landscaping, lowers the chance of ice-related trouble near entrances, and reduces the amount of water that pools near footings. If you have ever investigated a damp crawlspace or recurring settlement crack, you know drainage problems often start small and present somewhere else.
Start with the roof, not the gutter catalog
Effective gutter installation begins with understanding the roof’s runoff behavior. Roof area, pitch, valley concentration, overhang depth, and local rainfall intensity all affect sizing and layout. A long, steep roof plane dumps water with much more force than a short low-slope section. Valleys concentrate a surprising amount of flow into a small area. That is why a standard gutter setup on one home can struggle badly on another that seems similar from the street.
Sizing is often treated casually, but it deserves judgment. Many residential systems use 5-inch K-style gutters with 2x3 downspouts. That can be perfectly adequate for average conditions. It can also be undersized if the roof has long runs, steep slopes, multiple valleys, or sits in a region prone to heavy downpours. In those cases, 6-inch gutters and larger downspouts may be the wiser choice. The cost increase is usually modest compared with the cost of correcting overflow damage later.
Material choice matters too, though not in a one-size-fits-all way. Aluminum is common for good reason. It resists rust, is relatively lightweight, and is available in many colors. Steel is stronger, but if coatings are compromised, rust becomes a concern. Copper is durable and attractive, but expensive and usually selected as much for appearance as performance. Vinyl has its place in some budget situations, though it tends to be less forgiving in extreme temperatures and can become brittle over time.
Seamless gutters are often preferred because they reduce leak points across long runs. That does not make seams inherently bad. It means seams must be placed thoughtfully and sealed properly. Corners, end caps, and outlet connections still need careful workmanship either way.
Safety starts before the ladder goes up
The safety side of gutter installation is where many problems begin. Homeowners often underestimate the risk because the work appears repetitive and close to the roof edge rather than high on the roof itself. In practice, ladder work causes plenty of injuries, especially when people overreach, work on uneven ground, or try to manage long gutter sections without enough help.
A proper ladder setup is not optional. The ladder should sit on stable, level ground and extend high enough to allow a secure transition if roof access is necessary. Even then, many gutter jobs should be completed without climbing onto the roof at all. The temptation to lean just a little farther to reach the next bracket is what gets people hurt. It is safer to climb down and reposition, even if it slows the job.
Gloves and eye protection matter more than people expect. Freshly cut metal edges are unforgiving, and old gutters often hold gritty debris, insect nests, and hidden fasteners. If power tools are involved, hearing protection is smart as well. On taller homes or steep grades, the question is not whether a harness system is theoretically useful. It is whether the installer has the training and anchor points to use it correctly. Improvised fall protection is often more dangerous than none because it creates false confidence.
If there is one practical rule that separates a careful job from a reckless one, it is this: never work alone when handling full gutter sections. The material may not be extremely heavy, but it is awkward, catches wind easily, and becomes hard to control on a ladder.
Getting the layout right
A gutter system succeeds or fails on water path design. That starts with placement along the roof edge and continues through pitch, outlet spacing, and discharge location at grade.
The gutter needs to sit high enough and close enough to the roof edge to capture runoff, but not so high that sliding snow or ice can wrench it loose. That balance changes by roof type https://blogfreely.net/bedwynkvek/how-gutter-installation-supports-better-rainwater-management and climate. In snowy regions, installers often position the gutter so its front edge sits slightly below the roof plane extension, reducing the chance of snow load ripping it away. On roofs with a pronounced drip edge, the back of the gutter should tuck properly beneath or behind the water-shedding detail so runoff cannot run behind the system.
Pitch is another common trouble spot. Gutters are not meant to be level, even if the visual line appears nearly straight. They need a subtle slope toward the downspout so water keeps moving and sediment does not settle everywhere. Too little slope and water ponds. Too much slope and the gutter can look visibly off, especially on a long facade. A typical target is modest, often around a quarter inch for every 10 feet, though conditions vary. On very long runs, it may be better to split drainage and pitch toward downspouts at both ends or toward a central outlet, depending on architecture and discharge options.
Downspout placement deserves more thought than it usually gets. Every downspout is part drainage device and part visual element. Homeowners want them discreet. Installers want them where water naturally needs to go. Good design handles both. The best locations usually align with corners, trim transitions, or ground-level drainage points where extensions, splash blocks, or underground drains can move water away from the foundation. Hiding a downspout in an awkward spot is not a win if it leaves water dumping onto a walkway or pooling beside the footing.
Fastening is where durability lives
You can often tell how a gutter installation will age by how it is fastened. Spikes and ferrules still exist on older homes, but modern hidden hangers attached with screws generally provide a more secure, cleaner result. They support the gutter from within, resist pull-out better, and maintain alignment more effectively over time.
Hanger spacing should reflect climate and load expectations, not just minimum effort. In many conditions, spacing around 24 inches on center is common. In snow country or on sections exposed to heavy water concentration, closer spacing can be wise. This is one of those details that nobody admires from the driveway, but it directly affects whether the gutter keeps its pitch and shape under stress.
The fascia board itself has to be sound. Attaching new gutters to rotted wood is like mounting a handrail into soft plaster. It may hold for a while, then fail exactly when it is needed. Before installation, inspect the fascia and roof edge for softness, delamination, insect damage, or long-term moisture exposure. If repairs are needed, do them first. Covering a failing substrate with new metal only hides the problem.
Sealants also need restraint and judgment. They are useful at corners, end caps, and outlet connections, but they are not a substitute for proper fitting. A joint that depends on excess caulk instead of clean assembly often leaks sooner than expected, especially with seasonal movement and temperature swings.
The details that separate average work from excellent work
The most reliable gutter installation is usually not the one with the most accessories. It is the one where small decisions were made correctly. Outlet holes are cut cleanly rather than hacked open. Downspout elbows line up without forcing the run. Screws do not distort the metal. The system is tested with water before the crew leaves. These are not glamorous touches, but they matter.
Leaf protection is a good example of a detail that requires nuance. Homeowners often ask whether guards are worth it. Sometimes they are. Sometimes they create their own maintenance issues, especially with small debris, seed pods, or roofs that shed granules. Guards can reduce cleaning frequency, but they do not make gutters maintenance-free. The right answer depends on tree cover, roof type, local weather, and the homeowner’s willingness to inspect the system periodically.
Another overlooked detail is the discharge area at the bottom of the downspout. A perfect roofline installation still underperforms if water empties right beside the foundation. Extensions, splash blocks, and underground drain connections need enough length and slope to carry water away effectively. In many cases, 4 to 6 feet of separation from the house is a good baseline, though soil type, lot grading, and local drainage patterns may call for more.
A short checklist before the work begins
- Confirm the fascia is solid and the roof edge detail can direct water into the gutter.
- Match gutter and downspout size to roof area, pitch, valleys, and local rainfall.
- Plan downspout discharge so runoff leaves the foundation area, not just the roofline.
- Set up ladders on stable ground, and never handle long sections without help.
- Test flow with water before considering the installation finished.
Common installation mistakes and why they happen
Most gutter problems are not caused by defective materials. They are caused by rushed decisions. A crew wants to finish before weather moves in, a homeowner wants the lowest bid, or a do-it-yourself installer assumes the details are forgiving. They are not.
One recurring mistake is prioritizing appearance over function. Someone wants the gutter line perfectly parallel to the soffit, even though the fascia or roofline would require a slightly different visual compromise to maintain drainage pitch. Another is underestimating flow at valleys. A standard-sized gutter may work along most of the house, then overflow precisely where two roof planes dump into the same section. Splash guards can help in some situations, but they are only a supplement. The core system still needs enough capacity.
Improper downspout count is another issue. A long run with only one outlet may technically drain, but slowly, and with more debris accumulation. Adding a second downspout can dramatically improve performance and reduce standing water. Yet installers sometimes avoid it because it adds labor and changes the facade. This is where experience matters. Function should lead, and aesthetics should be solved around it.
Then there is the problem of ignoring climate. Homes in freeze-thaw regions deal with stresses that mild-climate installations may never see. Ice can exploit low spots, widen joints, and add enough weight to stress weak fasteners. In hot climates, expansion and contraction can punish poorly assembled seams and rigid connections. Good installers build for the weather the house actually receives, not for an abstract standard detail.
When to hire a professional
Some single-story homes with easy access and short, straightforward runs are within the capability of a careful homeowner. Many others are not. Height, complex roof geometry, steep terrain, overhead utility lines, slate or tile roofing, and hidden fascia damage all shift the balance strongly toward professional help.
A seasoned installer brings more than labor. They bring fabrication capability for seamless runs, an eye for where water will misbehave, and familiarity with edge cases that are hard to anticipate from tutorials. They also carry the burden of doing the dangerous parts routinely, with the right equipment and crew support.
When evaluating a contractor, ask specific questions. How will they size the system for your roof? Where will the downspouts discharge? What hanger spacing do they use? How do they handle valleys with concentrated flow? Will they inspect and report fascia condition before fastening anything? Vague answers are a warning sign. Competent installers usually speak clearly about slope, capacity, and discharge because those are the mechanics of the job.
Price matters, but unusually low bids often mean corners will be cut somewhere. Sometimes it is in material thickness, sometimes in hanger count, sometimes in labor time spent on layout and testing. Gutters are one of those projects where the cheapest acceptable-looking result can become the most expensive one three rainy seasons later.
Signs that a new installation is not performing properly
- Water runs behind the gutter during rain.
- Sections hold standing water a day after a storm.
- Overflow occurs at valleys or near downspouts.
- Downspouts dump water too close to the foundation.
- The gutter face shows early sagging or waviness.
If any of these signs appear soon after Gutter Installation, do not assume the problem will settle out on its own. It usually gets worse. Early correction is far simpler than repairing rot, erosion, or interior moisture issues later.
Maintenance protects the installation you paid for
Even an excellent gutter installation needs periodic attention. Leaves, grit, roofing granules, and twigs accumulate. Hangers loosen over the years. Sealants age. Extensions get kicked aside by lawn equipment or crushed under foot traffic. None of that means the system failed. It means drainage components live outdoors and take abuse.
A practical inspection routine is simple. Look at the gutters after heavy rain, not just on a dry afternoon. Watch where overflow appears, whether downspouts keep pace, and whether discharge moves cleanly away from the home. Seasonal visual checks from the ground often reveal plenty, especially if you know what to look for. Sagging runs, staining beneath seams, and washout in planting beds all tell a story.
Cleaning frequency depends on surroundings. A house under mature trees may need attention several times a year. A home in a more open setting may need much less. The goal is not spotless gutters. The goal is free water movement and secure attachment.
What safe and effective really looks like
Safe and effective gutter installation is not a single feature or product label. It is the sum of disciplined choices. The right size for the roof. The right pitch for the run. The right fastening for the climate. The right downspout locations for the site. The right respect for ladder safety while the work is being done.
When those choices come together, the system does its job almost invisibly. Rain disappears off the roof and away from the house. The fascia stays dry. The beds do not wash out. The basement stays calmer during storms. You may never think about the gutters again, which is exactly the point.
That kind of performance is rarely accidental. It is built at installation, one measurement, one bracket, one outlet, and one safety decision at a time.
Just Gutters LLC
Address: 262 Main St, Hackettstown, NJ 07840
Phone number: +12013319454
FAQ About Gutter Installation Hackettstown
Can I install a gutter myself?
Yes, you can install gutters yourself. DIYers typically use aluminum or vinyl sections from home improvement stores. The project requires basic tools, precise measuring, and comfort working on ladders. Key steps include snapping a chalk line for a slight slope (1/4 inch per 10 feet toward downspouts), securing hangers every 2 feet, and caulking all joints securely.
How much does body contouring usually cost?
The Home Depot typically charges between $1,000 and $3,600 for a standard professional gutter installation on a typical single-family home with 200 linear feet of gutters. Calculated on a per-foot basis, the cost usually ranges from $5 to $18 per linear foot, highly dependent on the material you select.
How much does a 40 ft seamless gutter cost?
A 40 ft seamless gutter run will cost between $240 and $1,120+ fully installed, depending on the material you choose. Because seamless gutters require specialized on-site fabrication machines, they are rarely sold as DIY kits and are priced per linear foot.